


Back when we lived in Austin, rhubarb season existed to me only via Instagram. Rhubarb didn’t grow where we lived, and I didn’t quite understand why there was a sudden explosion of rhubarb recipes all over the internet every spring… until now. After the longest winter ever, our farmers markets are open again(!) and the first types of produce to appear have been asparagus, rhubarb, and… cheese. Yes – I think cheese is considered a vegetable here in the midwest.
So far, I’ve only used rhubarb to make crisps, crumbles, and this strawberry rhubarb chia jam that has been delicious dolloped on breakfast foods like almond butter toast and these overnight oat parfaits. Other than that, I’m a total rhubarb newbie. If you have a unique rhubarb idea (maybe even a savory recipe idea?) please tell me about it!

But first, this chia jam. It’s based on the yummy blueberry chia jam that I made at the end of last summer. At first, I thought the rhubarb might be too tart or too firm to jam up in the same way, but it’s perfectly tangy and deliciously sweet and thick.

I’m back on an oat kick, so… overnight oat parfaits! All of these components can be made ahead and quickly assembled in the morning. I like to top mine with a little granola for crunch and a drizzle of maple syrup.
When we took these photos, I also happened to have coconut cream in the fridge (leftover from this tart recipe) which was a fun and fancy addition to these parfaits.
Strawberry Rhubarb Chia Overnight Oat Parfaits
Ingredients
Overnight Oats (this makes 2 servings)
- 1 cup whole rolled oats
- 1 cup almond milk
- Pinch of salt
- Drizzle of maple syrup, optional for sweeter oats
Strawberry Rhubarb Chia Jam (makes almost 2 cups)
- 2 cups chopped strawberries
- 1 cup chopped rhubarb (about 1 stalk, ends trimmed)
- ½ teaspoon lemon juice
- Pinch of salt
- 1 ½ to 2 tablespoons maple syrup
- 2 tablespoons chia seeds
For serving (optional)
Instructions
- Make the jam. In a small saucepan over medium heat, simmer the strawberries, rhubarb, lemon juice, and salt for 10 minutes, stirring often so that the fruit doesn't burn to the bottom of the pot. Remove from the heat and stir in the maple syrup and chia seeds. Let cool to room temperature, 20 to 30 minutes (the rhubarb will continue to soften). Transfer to a jar and chill for at least an hour.
- Make the oats. Divide the oats into 2 glass jars, pour in the almond milk, a pinch of salt, and maple syrup, if desired. Stir, cover, and chill overnight.
- In the morning, assemble oat jars with a generous scoop of the chia jam.
- If desired, serve with granola, (the crunch is a nice contrast to the soft oats), maple syrup for extra sweetness, and coconut cream if you’re feeling like a decadent breakfast.
3.4.3177


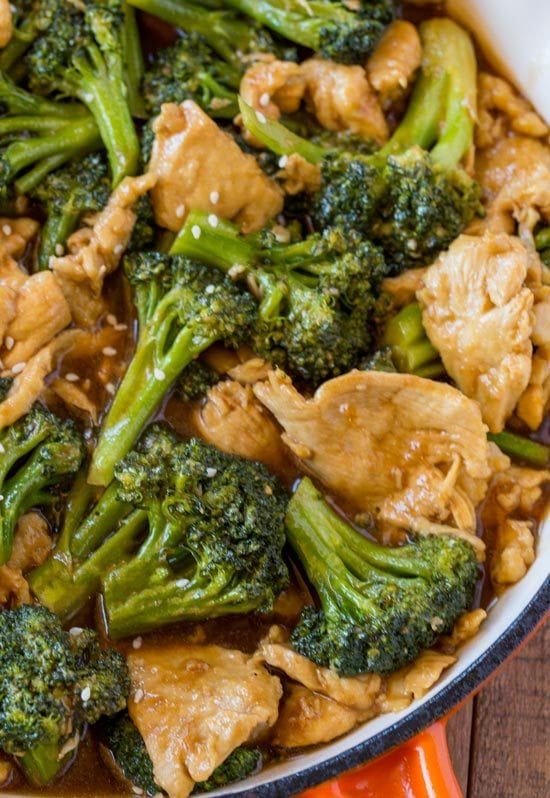
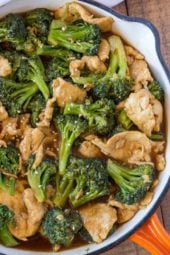
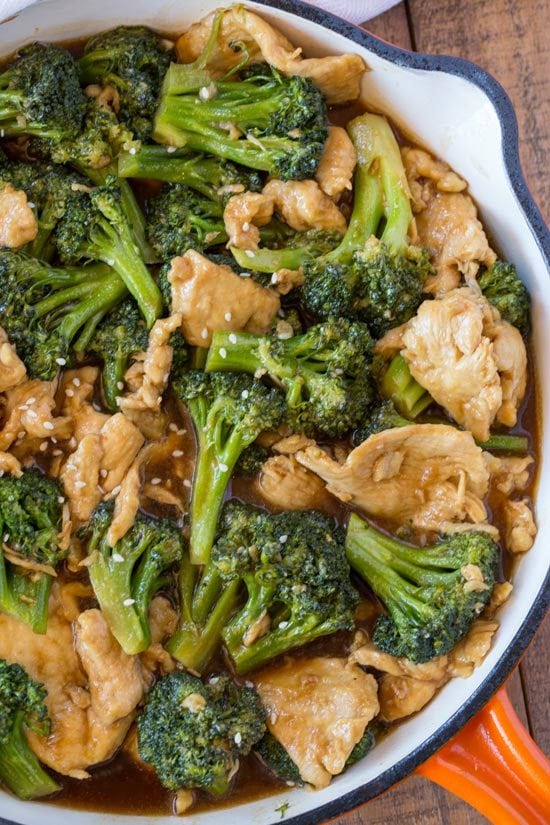 Chicken and Broccoli Stir-Fry
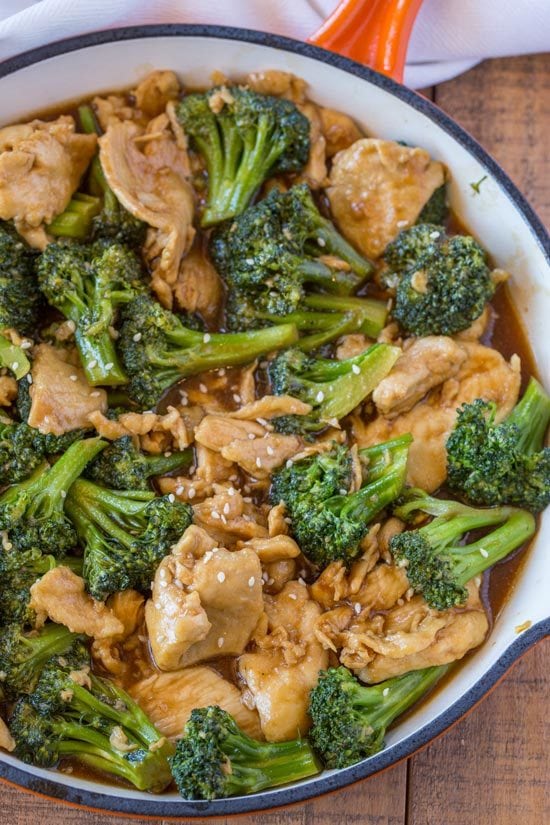


 RSS Feed
